The beginning of my VW Jetta Sports Mod Journey
First...
Delivery date : 30 Oct 2010
Venue : VCS
Time : 1250H
Next, drove to my in laws place (abt 3 hrs later) and then took the next shot.
Five (5) days later, a ROC R/GTi Bro brought me to this place and taught me how to take this pic. We took about an hour on this angle alone..

Few days later, a colleague of mine poisoned me with this and i had it installed..
front
rear
about 2 weeks later, I decided to change from this

to this

I have been driving small cars all these while and couldn't really handle the length of this car and thus i decided to install the rear view camera. Here's the extent of the job required.
forgot to include the final product...
Feeling the car a bit on the "tall" side, i decided to lower it with Eibach Pro-Kit.
After lowering, the car now looks like this.
close up on the front
After lowering, I found this bar (2 of them) and decide to install it to strengthen the already strong VW chassis.
and i also decide to "de-badge" the car to give a more "clean" look behind
can guess the words?
Here, its hot all year round. Installing solar films is a MUST! Decides to opt for 3M solar film to counter the heat.
Was thinking of upgrading my brakes eventually, thus, have to settle the wheels 1st.
thus from this...

to this...

Next, here comes the brakes.

along with ssbh

the overall looks after springs, wheels and brakes changed. Deciding on what type of rear brakes I should settle for.
After settling the brakes, its time to settle the sound again. Initially I installed the Pioneer under seat woofer to complement the stock speakers. was good enough... (to be continued)
here's the excess work to install the Pioneer TS-WX11A
(continued) Until I heard that there is Dynaudio specific to VW. decided to go with it as i had heard dynaudio sound long time ago but couldn't afford last time.
The stock speakers were replaced with new harness as well...
Original Speakers (Front)
Original Speakers (Rear)
To Dynaudio speakers
took a whole day just to wire up the speakers using the new harness, but its worth it!
Finally the missing identity badge that I have been waiting for.
The original pioneer TS-WX11A had to make way for the amplifier, thus the bass was missing. therefore, I went back to my parents place and took out a 12" woofer that was lying on my room cupboard for 10 yrs and had it installed (finally) on my jetta, pairing it with my genesis profile sub amplifier.
the B-52 old school dual voice coil 400W subwoofer
Pairing with Genesis Profile Sub Amplifier
overall look
car now is without spare tyre (again). Haven't been having a spare tyre since my Peugeot 206cc and my Mitsubishi Colt Version R.
Since I have a 1 Farad Capacitor lying in my storeroom, decided to DIY and install it into my car. At the same time, to protect the woofer from damaging, I found a Kicker woofer grill. wondering why it only have it in plastic for the 12" and metal for the 10"? here's the final overall look.
Accessories.
Since I m also a non smoker, i decided to "throw away" the ash tray and make way for this..
didn't know how to remove the headlamp switch and ask for help...
thanks davecurtain (VAGSG) for his assistance, i successfully did this conversation.
and at the same time, DIY this...
bluffing myself that i m driving a MK5.5 Jetta Sports haha...
Looking bored with rubber original paddles, decides to install the OSIR dead foot rest along with OEM sports paddles.
as well as OSIR alloy paddle shifts
Along the way, I kenna poisoned deep deep and decided to change to some "R" parts..
2011 "R" Gear knob.

Was told that my car bhp increases by another 20 for the steering wheel and another 15 for the gear knob! haha
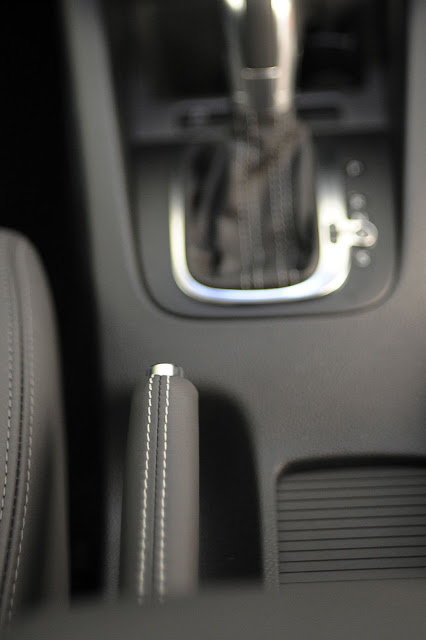
Finally to match the white stitching of the steering wheel and the gear lever, the handbrake grip was changed to the white stitching as well.
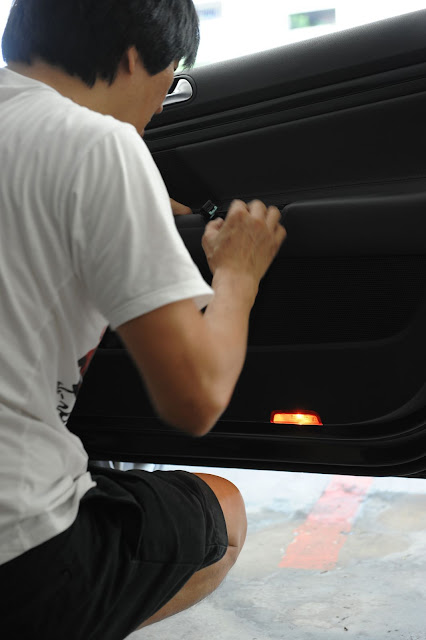
Enhancing the safety of the car at night, I have installed the door light.
And to give the rear interior a little more luxurious feel, the floor was lit with 2 lamps mounted on the front seats. Let there be light!
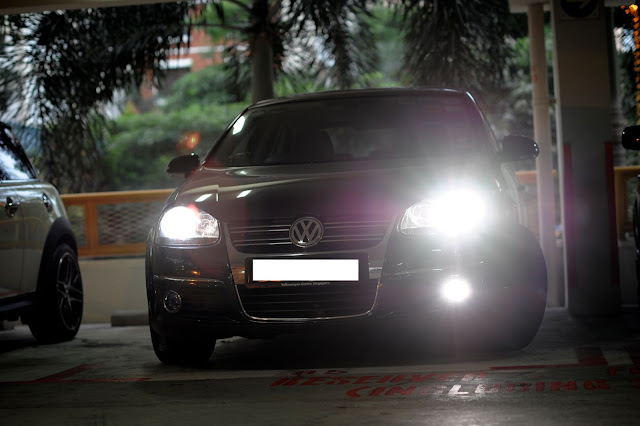
Err, fog lamp blown??
Not really...
Feeling that the car looks to saloon and decided to give the car a little different look, thus, got the boot lip installed
closed up view
Managed to spot the spotlight?
Performance.
One good way of not using the horn and yet achieving a loud sound is installing this... other than serving this functions as releasing pressure to the atmosphere to prolong the turbo...
I love TURBO charge cars, mainly because of this! Too bad, it doesn't sound like HKS SSQV...
Next, a friend of mine recommended me this relatively cheap modification that will increases the power by 20%! true enough i did a dyno and here's the findings. Was only on K&N drop in filter with this chip.
Jetta 1.4 Tsi (160hp)
Before: 165hp, 225nm
After: 192hp, 260nm
Gain: +27hp, +35nm
These readings were taken at DKC Jidousha (Blk 9002 Tampines Street 93, Industrial Park A #01-66. Singapore 528836), using a rolling road dyno. Please multiply all readings by factor of 1.2 to find engine power.
My engine bay has been pretty clean, but i decided to change from the drop in filter to BMC CDA.
Decided to go for LTA friendly exhaust but 1st the original rear valance does not have exhaust outlet. so, while waiting patiently for my exhaust to arrive, i have to..
1. either cut a hole on my existing rear valance or
2. get the GLi rear valance.
Thus decided to go for option 2 as i guess it will be neater and nicer. hope i didn't make the wrong choice and here's the pic before my exhaust arrives...

side view
Here's another look on the GLi bumper... looks a bit weird without any exhaust tip now... hope the exhaust comes fast...
Finally, after about 2 weeks of waiting... the exhaust is here..
From the original muffler to
To Bastuck (LTA Friendly!)
Completed the look with my GLi rear valance. it sounded nice and bassy too (can be heard from inside the cabin).
Finally my "exhausted" Jetta! However, my poor stock exhaust had to be cut into 2 before it could be removed.
to make sure i don't get into trouble. immediately I head to STA for inspection and waited about half an hour to get this.
Next, this is a picture of my intercooler. no prize will be given for guessing what i have installed...
(Answer: Audi S3 / Golf R IC - same part number)
A forum guy posted this on the VAGSG and I got this (cos the guy in front of was thinking hard to spend this money i guess). SSBH ready as well...
Along with 312mm ventilated rotors.
I was a bit sad (25 May). I wanna install my rear brake kit... all ready liao, but only to realise that there is a missing part... a metal pipe/hose that connects the calipers to the brake hose. sianz....
need to order the parts before I can complete the installation...
nevertheless, here's some of the pics during the process.
moments (thinking) before the brakes were converted.

my mechanic surprised me with this... this used to be a plain rotors.
the calipers and brackets sprayed to match my front AP.
cleaning up the bolts before installation...
comparing the size of the R32 vs my stock rotors.
Finally the day has come as the missing parts finally arrived... had waited patiently for it for almost a week and these items are finally here... err not the iPad hor.. hee hee
How this pipe was needed...

Now the calipers are ready for installation... here's the final process of my (Jetta) R32 rear brakes conversion.
the nicely curved slotted ventilated

after installing the calipers
together with SSBH

the final look with a "fake" AP Racing sticker.
another view of the rear brakes..
now what should i do with this...
the matching front and rear calipers look... (might not be able to see clearly).
during the process of waiting for the metal pipes to arrive, i have also decided to improve the "cornering" by replacing from this
.
to this.
Finally, if you asked me, what is the consumption of the car... VW tagged it as 15.4km/l when they sold the car to me... but my best fuel consumption achieved was
But that's 100% Highway! and also that's before modification. not too sure how the car can achieve 700-800km per tank while the best i did was only 600km. now with the extra load, i think its only doing 10km/l now... well, just enjoy driving it. worry too much abt fuel economy, i guess i should be driving a hybrid.
I think my 10km/l was largely due to my idling time in the car cos I was enjoying my Dynaudio. Recently, the consumption was back to a more "normal" 11km/l which I have been enjoying it previously.
Well, this is by far my best fuel consumption per tank.
Before I signed off (for the time being), allow me to share with u a free modification that allows u to read ur cash card value easier on ur IU.
just use the lower slot of the IU bracket. Works better on the older IU.
signing off (for the time being, until there is newer update), here's 2 shots i did on my car...
If u ask me how i do this shot, i will say "i travel at 200km/h, 'sar' corner, stick out my hand with my camera in place and snap it".
Of cos not lah!
(",)
Note : here is the more easier to read summary of my modifications.
http://ironman76.blogspot.com/2011/10/volkswagen-jetta-sports-summary-of-mods.html


